 01732 667 688


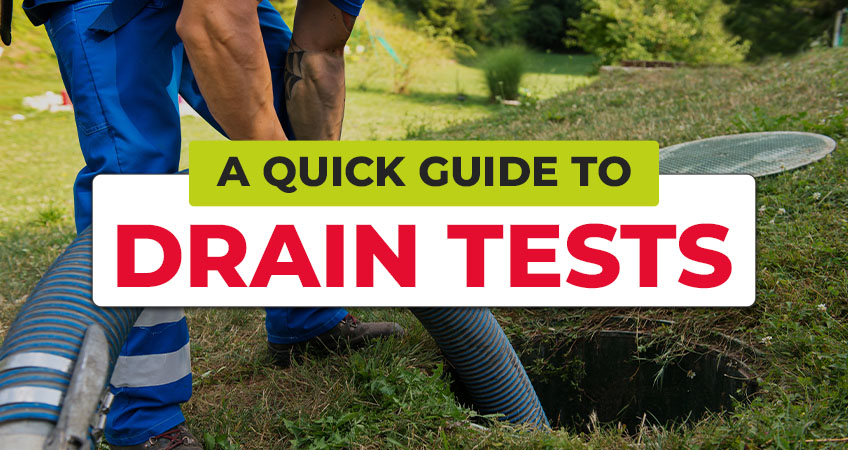
Ensuring the functionality and durability of drainage systems is crucial, and drain testing plays a key role in this process. Whether you’re a contractor installing a new system or a homeowner making improvements, drain testing verifies that your drainage system meets required standards.
At Any Drains Direct, we’ve helped countless clients navigate the drain testing process. Here’s everything you need to know about conducting effective and compliant drain tests.
What is drain testing?
Drain testing is the process of inspecting a drainage system for leaks, damage, or structural flaws before it’s put into use. It’s a critical step during construction or installation to ensure that systems are airtight, watertight, and adhere to UK building regulations.
Drain testing is typically performed:
- Before building control inspections to catch and resolve issues early.
- After installation to confirm the system functions as intended.
Two types of drain tests
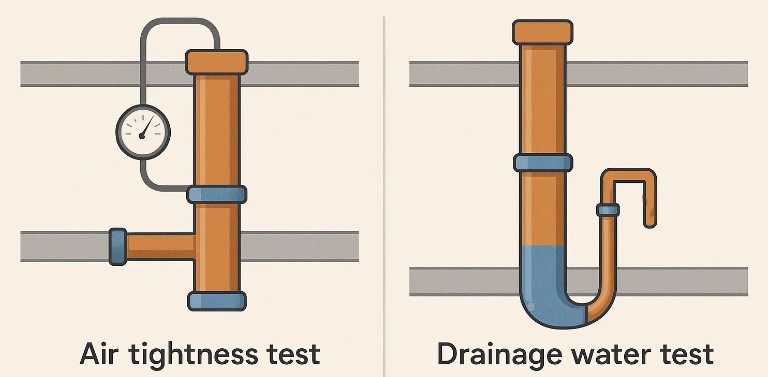
There are several methods for drain testing, each suited to different needs.
Here’s a closer look at the two most common techniques:
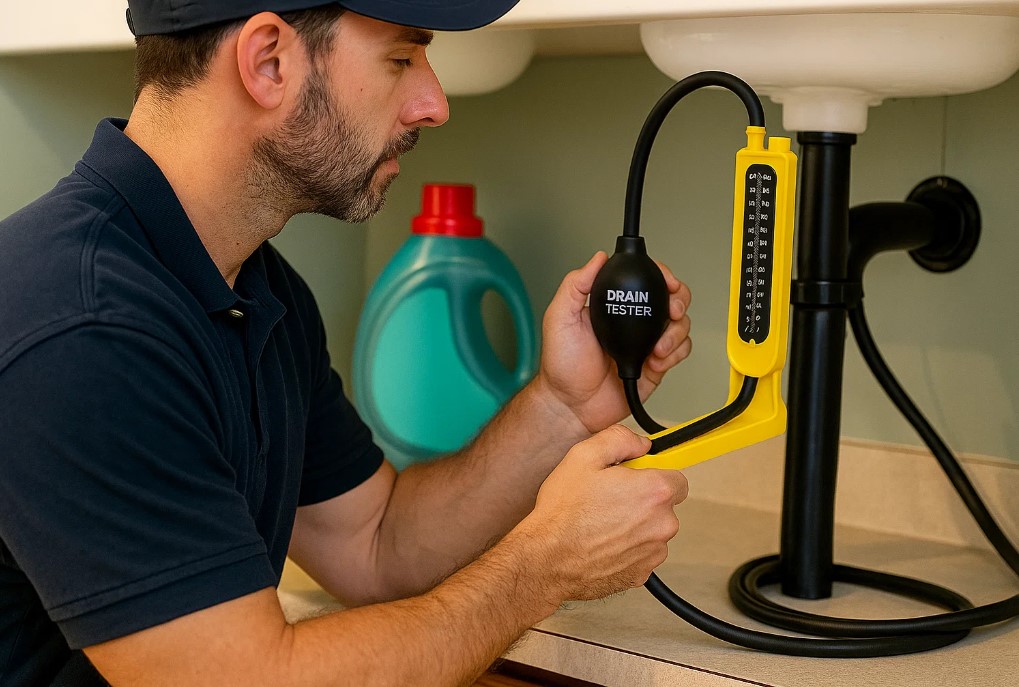
Air tightness test
How it works:
An air test involves sealing a section of the drainage system, pressurising it with air, and using a manometer to monitor pressure changes over time. It’s ideal for testing smaller pipe sections.
Advantages:
- Quick and efficient.
- Pressure testing requires minimal equipment.
- Effective for identifying localised leaks.
Disadvantages:
- Sensitive to temperature fluctuations, which can affect results.
- Unsuitable for testing large systems or full pipelines.
Drainage water test
How it works:
Also known as water drop testing, this method fills the pipe with water to identify leaks. The water level is monitored for drops over time, indicating potential issues.
Advantages:
- Provides a comprehensive check for the entire system.
- Reliable for larger pipelines.
Disadvantages:
- Requires more time to set up.
- Calculating water loss can be complex.
Other testing methods
Smoke testing
Smoke testing is typically used to locate leaks or faults by pushing smoke through the pipes. Any visible leaks indicate problem areas. While helpful for identifying issues, it’s not a standalone test for full system functionality.
Mandrel testing
Mandrel testing checks for consistent pipe diameters and ensures there are no obstructions or deformities. A cylindrical tool slightly smaller than the pipe’s diameter is passed through to verify smooth flow.
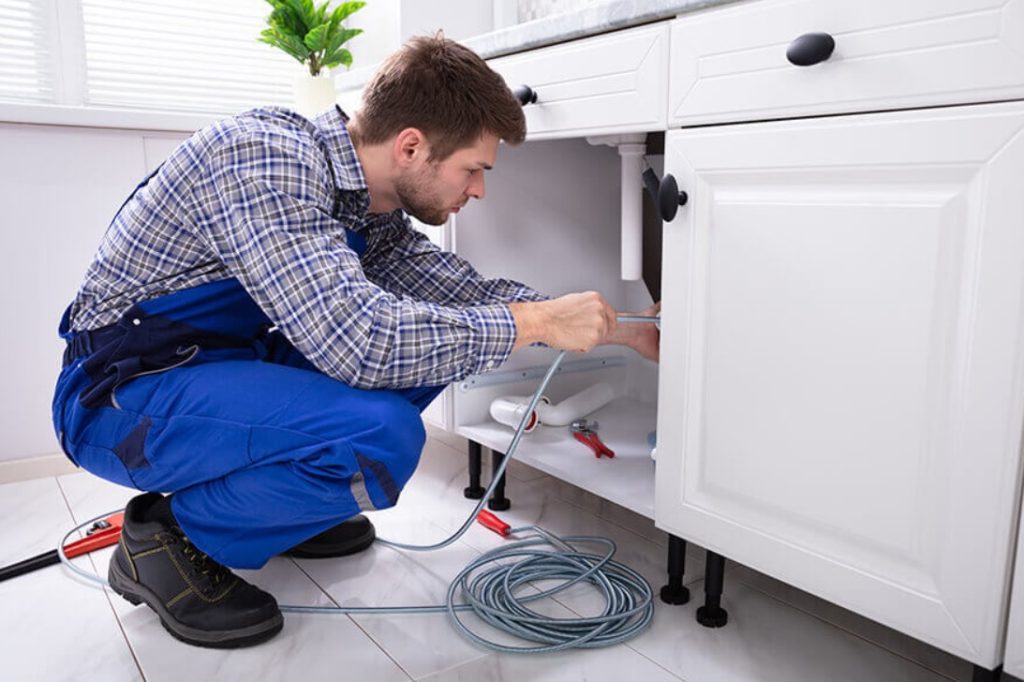
Preparing for a drain test
Proper preparation ensures a smooth and accurate drain test. Here’s how to get ready:
- Inspect the pipes: Check for visible damage, cracks, or other issues that could affect the results.
- Seal joints and connections: Ensure all access points are properly sealed to prevent interference during testing.
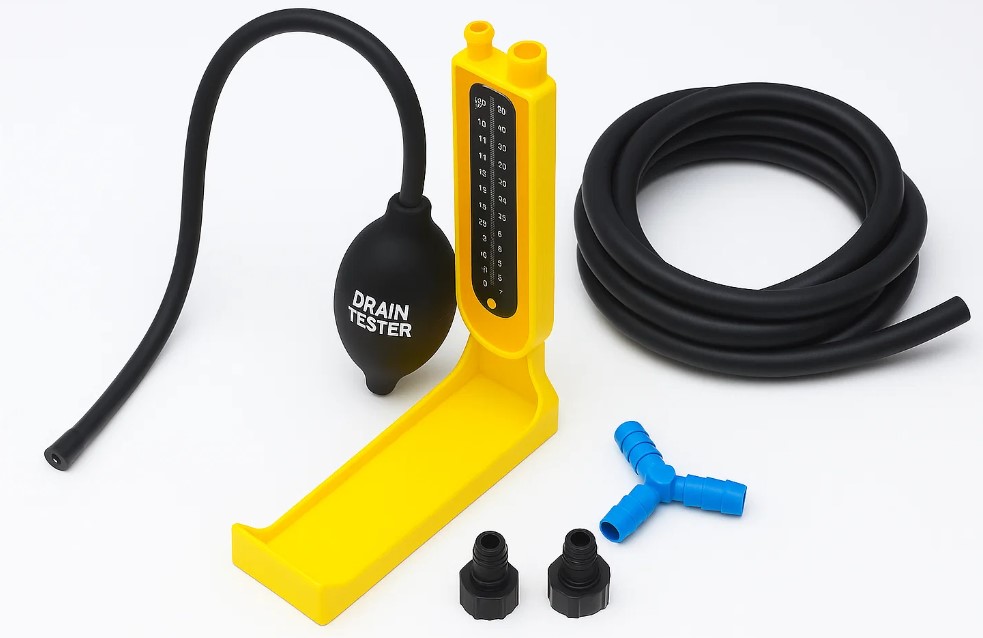
- Gather necessary tools: Depending on the test, you may need:
- Air bungs or plugs.
- Hand pumps.
- Manometers or water heads.
- Mandrel tools (for specific tests).
For optimal results, pipes should be dry or drained for at least 48 hours before testing.
How to conduct a drain test
Once you’ve prepared your system, it’s time to perform the test. Below are step-by-step instructions for air and water testing.
Air test step-by-step
- Seal the pipe ends: Use bungs to close off the section being tested.
- Set up the manometer: Attach a nipple cap to one bung to connect the system to a manometer.
- Introduce air pressure: Use a hand pump to pressurise the system to 125–150mm on the manometer.
- Allow Pressure to settle: After 10 minutes, reduce the pressure to 100mm.
- Monitor the pressure: Over 5 minutes, check for any pressure drops. A stable reading above 75mm indicates a pass. If it falls below this, inspect for leaks.
Water test step-by-step
- Seal the system: Close off the pipe ends with bungs or stoppers. Attach a vertical pipe to allow water filling.
- Fill with water: Add water to the required level, following BS regulations.
- Stabilise the system: Let the water settle for two hours.
- Monitor for loss: Over the next 30 minutes, observe for water loss. A system passes if loss remains within acceptable limits. For example, a 100m section of 150mm pipe should not lose more than 1 litre of water per hour.
What to do if a drain test fails
A failed test points to leaks, damage, or blockages. Here are the next steps:
- Inspect problem areas: Check joints, seals, and damaged sections for issues.
- Test individual segments: Narrow down the fault’s location with smaller tests.
- Repair or replace parts: Fix leaks, reseal joints, or replace damaged pipes as needed.
For minor issues, quick fixes may suffice. For more significant problems, professional assistance may be required before retesting.
Final steps and compliance with building regulations
Drain testing isn’t just about functionality—it’s also a legal requirement. Building control must approve systems as compliant with UK regulations before they’re certified for use. At Any Drains Direct, we ensure every test meets the highest standards, giving you peace of mind and full compliance.
FAQ
How effective are water test kits for drain testing?
Water test kits are highly effective for identifying leaks and ensuring water tightness in drainage systems. They enable you to monitor water levels over time to detect any drop that indicates leakage. Using a reliable kit with full instructions ensures accurate results, making them a valuable tool for both professionals and homeowners.
Who needs to be present during a drain test?
Typically, a building control officer should be present during official drain testing to verify compliance with building regulations. Their presence ensures that testing is done properly and the drainage system meets required standards.
Can drain testing be performed on jointed systems?
Yes, drain testing can be performed on jointed systems, but it’s important that these systems are properly sealed and left to drain for at least 48 hours before testing to ensure accurate results.
What equipment is essential for conducting a proper drain test?
Essential equipment includes pressure gauges such as a u air gauge, air bungs or plugs, hand pumps, manometers, and water testing kits. Having the correct tools and following full instructions ensures the testing process is efficient and reliable.
How long does a typical drain test take?
Duration varies by test type. Air tests typically take around five minutes of pressure monitoring after setup, while water tests require longer periods—often two hours for stabilisation plus an additional 30 minutes for monitoring water loss.
Can drain tests only be done on private water supplies?
No, drain testing is not limited to private water supplies. Drain testing is performed on various types of drainage systems, including those connected to public water supplies, private water supplies, and other plumbing systems. Public water supply networks may incorporate the use of inspection chambers in their drain testing, enabling them to effectively monitor water quality in their drain runs and correctly treat any issues.
Ready to get started?
Drain testing is a vital step you can’t afford to overlook. Whether you need air testing, water testing, or mandrel checks, precision and expertise are key to reliable results.
At Any Drains Direct, we bring years of experience, state-of-the-art equipment, and a commitment to quality to every project. Have questions or need a quote? Contact us today, and let’s make sure your drainage system is ready for anything.